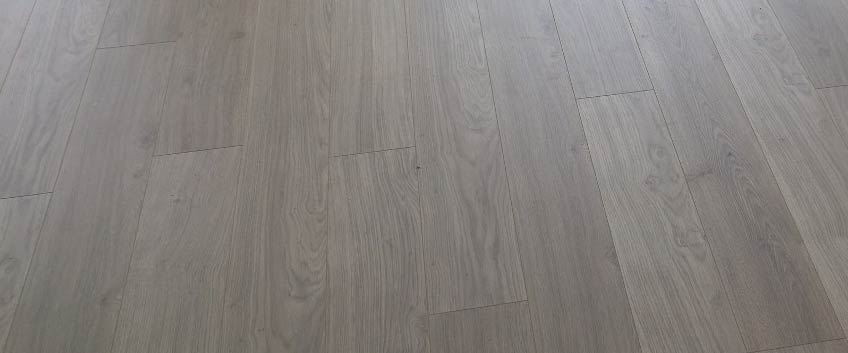
Engineered wood floors have a long list with benefits for your office or home, in addition they are really easy to be fitted, especially in a floating composition. Floating engineered wood flooring is the method of installation, where the planks are not glued or nailed down directly on the subfloor but glued together. Do you wonder why and when flooring technicians count on this methodology? Well, when the subfloor, especially being concrete, can’t be even or dry for some reason, floating flooring is the only option.
Engineered wood floors can be installed in the floating system over any type of subfloor, existing flooring, running pipes and cables, floor heating system and is, in fact, the quickest way to enjoy the beauty of the real wood floor in your room, requiring only one day of installation for medium-sized areas. In addition, engineered wood floors, installed the floating way allow the planks to shrink or enlarge and this is their natural reaction to humidity and the environment, preventing that way major issues. Engineered Floor Fitters experts decided to select the main information you are going to need if you consider a DIY engineered wood floating floor. Keep in mind, this is not your ultimate guide and if you are based in London area you can always call the experts and ask additional questions.
The preparation is the essence of every floor fitting project. Since the floating installation doesn’t require a completely levelled subfloor, for example, you can start with what you have. Another thing you can do to prepare for the project is to remove the baseboard and reinstall it after the floor fitting. However, you can leave the baseboard during the process, just be sure you conceal the expansion gap with Scotia moulding, nailed to the wall. You will also have to decide which direction the planks will be installed. Running the planks parallel with the longest wall, or to the light through the main window usually looks the best. Don’t forget to trim the door casings so the planks (plus the width of the foam underlayment beneath) can slide under. Finally, before starting laying the planks, install foam underlayment for insulation, soundproof and extra fixation of the flooring.
Remember you will need spacers to the walls around the whole perimeter of the room in order to leave structural gaps. The first plank should be laid in the corner with the grooves end against the spacer. Depending on the dimensions of the room and the floor, you probably are going to need to cut planks in order to fill the pieces. Remember to measure with attention as you have measured prior to the whole area and the planks needed for the project. To connect the planks to each other, the glue must be applied on the groove side. The excess glue should be removed immediately with a damp cloth. Repeat the process for the whole room. If the leftover plank piece from the previous row is more than 20 cm, you can use it to start the new row. Tap the planks from every row with a hammer to be sure there are fitted well. The fitting project comes to an end with the last row to the door, when planks would be probably cut again, so remember to measure with attention.