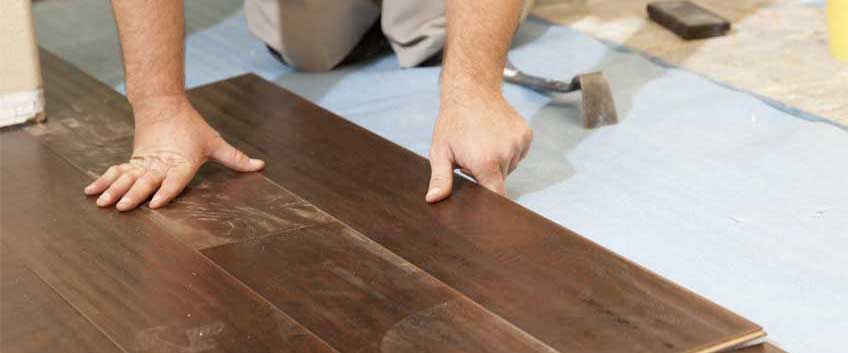
Floating installation system is often recommended for engineered wood floors. The floating system of fitting gives a lot of freedom when installing the floor because it is suitable for over subfloor, which can be levelled and even for some reason, also for underfloor heating systems and insulation, when other types of wooden flooring can’t be installed. In this method of installation, the individual boards or planks are attached to each other, either glued or snapped together, but they are not secured directly onto the subfloor. If you want to understand the floating floor method better, here are the basic stages of the process and the aspects you should follow during the fitting:
Prepare the subfloor
Although floating floors are recommended over the subfloor, which can’t be even or completely dry for some reason, before starting the arrangement of the planks, make sure the concrete underneath is as dry, as even and as clean as possible.
Tools
Hands down, floating floors are amongst the easiest to be installed and there are a few basic tools you are going to use during the process:
- Tapping block
- Hammer
- Spacers
- Glue
- Utility knife
- Painters tape
- Table saw
Before starting the main installation process, be sure to take a piece of underlay and a piece of the flooring material to be installed and undercut your door jambs so the floor can easily fit and in order to achieve an even and professional look.
Underlayment
The underlayment is recommended in order to cushion the floor and help to reduce to sound and also works as insulation. Unroll the underlayment over the subfloor in the direction the planks will be arranged and then trim the excess with a knife.
Installation
First of all, you have to pick the preferred side and then start from left to right with the tongue side of the board facing the wall. Experts often recommend fitting the planks in the direction, which is parallel to where the light hits in the room for a better look. Remember to use the spacers in order to leave an expansion gap between the planks. The right measurements are very important. Then apply glue to the groove end of every board and the length and install the first boards of the second row into the first board of the first row. Make sure to protect the floor from movement until the glue is dry, which takes around 30 minutes.
The last boards
When you have reached the last row, place the board to be cut directly on top of the previous row of boards. Then, on top of that place another plank, which must be moved against the wall and draw a line on the middle planks and cut. The last task left is to remove the spacers and re-install the trimming, scotia or beading and left the glue to dry properly.
Read More
Engineered wood flooring is known for its amazing durability and resistance to stress and high traffic impact, therefore it is a great choice for busy areas.
There are many things to consider, when you are choosing a new home and you want to have, or already have a hardwood floor installed.
While a beautiful wooden floor is a key factor for buying a new house, things not necessarily always go as expected.
Wood flooring for your balcony may sound like a waste of money, but this is really not the case if you make a smart choice!
If you want your living room to look like a piece of Heaven, be sure to decide on the warm brown color of umber wood flooring. Here is how to mix and match it!


